Import a csv file

Contents
A csv file is a file which contains data values separated by commas. These files are often created by "OMR" scanners, such as those from Scantron.
This topic presents examples of two typical csv files, and then shows how the ImportCSV macro is used to convert them to an Excel workbook ready for use with Lertap 5. (Refer to this topic for a definition of "Lertap-ready".)
Example 1: introduction
This example is from the Uni Class A sample dataset; 127 students answered 30 multiple-choice test items. On each item, response codes {1,2,3,4,5} were used.
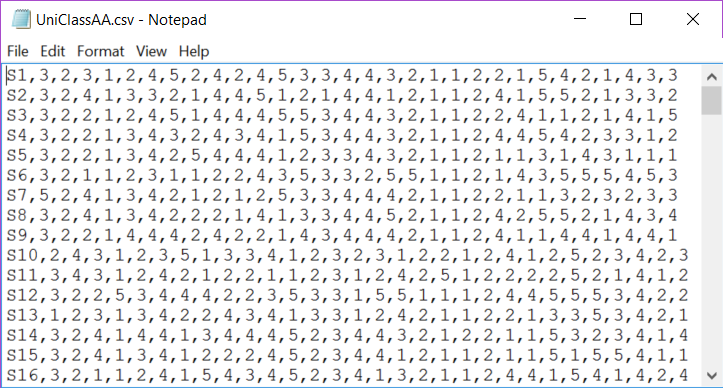
Every line in the csv file begins with a simple student ID code, such as S1, followed by the student's answer to the first item, such as 3, followed by her/his answer to the second item, such as 2, and so on. There were a total of 127 lines in this csv file, one for each student. Each line had an entry, or a "value", for each of the 31 "fields" of data. Each field's value is separated by commas.
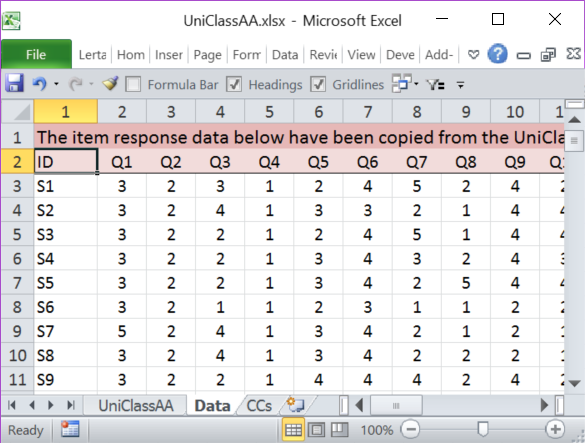
Note that the Windows "Notepad" app was used to open this file -- this is seen in the heading. Excel is used just as often as Notepad to open csv files. Here's how UniClassAA.csv looks when opened in Excel 2010:
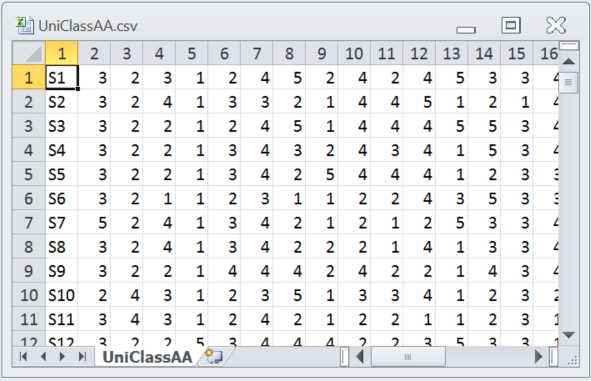
The "UniClassAA" Excel worksheet had 127 rows and 31 columns.
Example 2: introduction
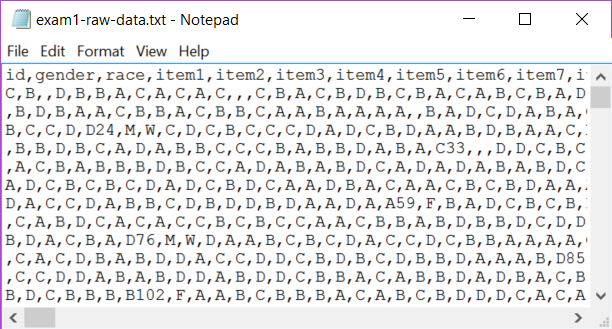
This example is from a 56-item multiple-choice test taken by 6,000 elementary school students in the United States. The file was generated by an OMR scanner; it read the bubble sheets students used to indicate their answers, and created a "txt" file. There's more about this particular dataset in another topic.
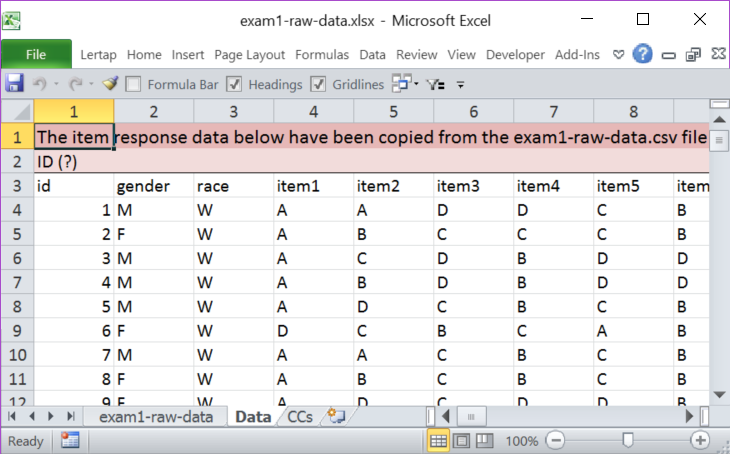
In this case, the instructor had the scanner insert a data line in the first row with the names (or titles) of the data fields found in each line of the txt file. It may be seen that the first field was "id", then "gender", then "race", followed by 56 fields for the item responses; the first of these fields was called "item1".
As mentioned, this file has a txt extension. Excel can open txt files by applying its "Text Import Wizard"; an example is provided here.
However, this file uses commas to separate each field -- to get Excel to open it without having to use the Text Import Wizard, all that's needed is to copy the file and change the copy's extension to "csv" instead of txt:
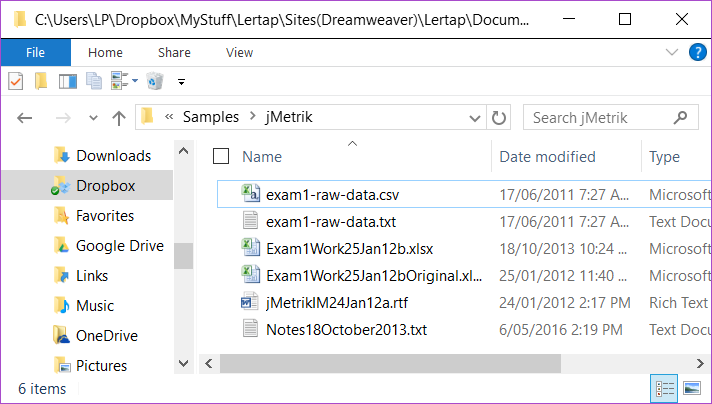
Double-clicking on the csv file above gets Excel to open it:

Okay. We've got two typical csv examples to work with. The presentation below shows how the ImportCSV macro is used to create a new Excel workbook for each example.
Using the ImportCSV macro with Example 1
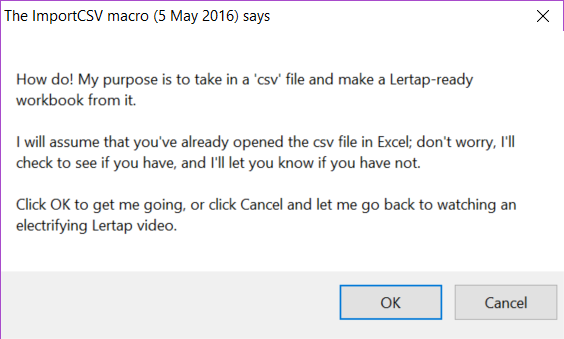
The ImportCSV macro is found under the Macs Menu. It displays the following message when it starts.
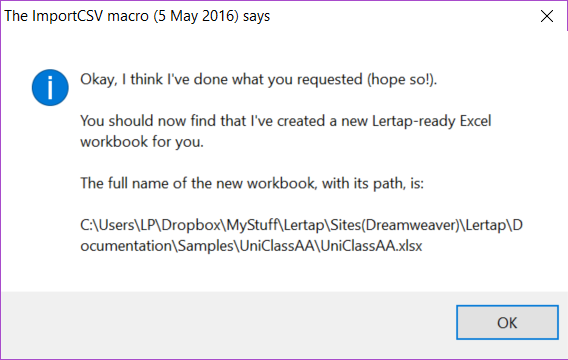
After the OK button is clicked, the macro works quite rapidly, ending with this message:
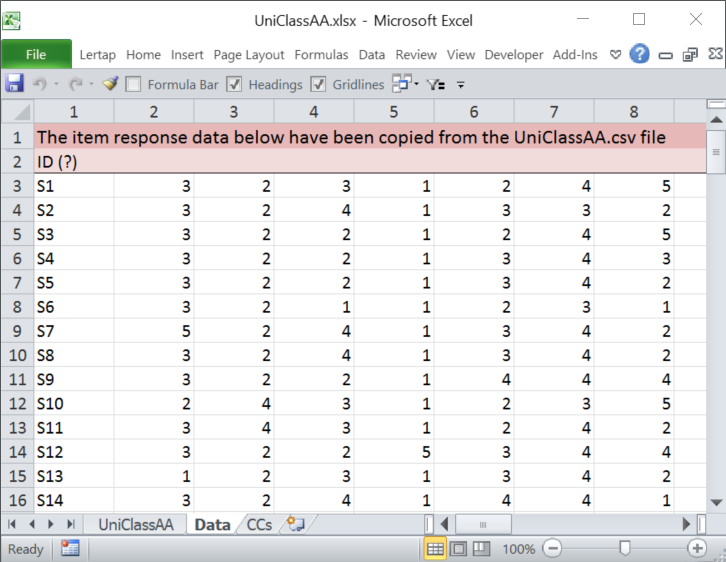
The macro will make a new Excel workbook and add two worksheets to it. The screen snapshots below show worksheet names in the tabs at the bottom of screen -- "UniClassAA" has the original data as brought in from the csv file; "Data" is a copy of UniClassAA but with two new rows inserted at the top.
The Data and CCs worksheets created by the ImportCSV macro are just "drafts" -- they need a bit of work before they can really be used.
Of these two worksheets, CCs will require the most attention.
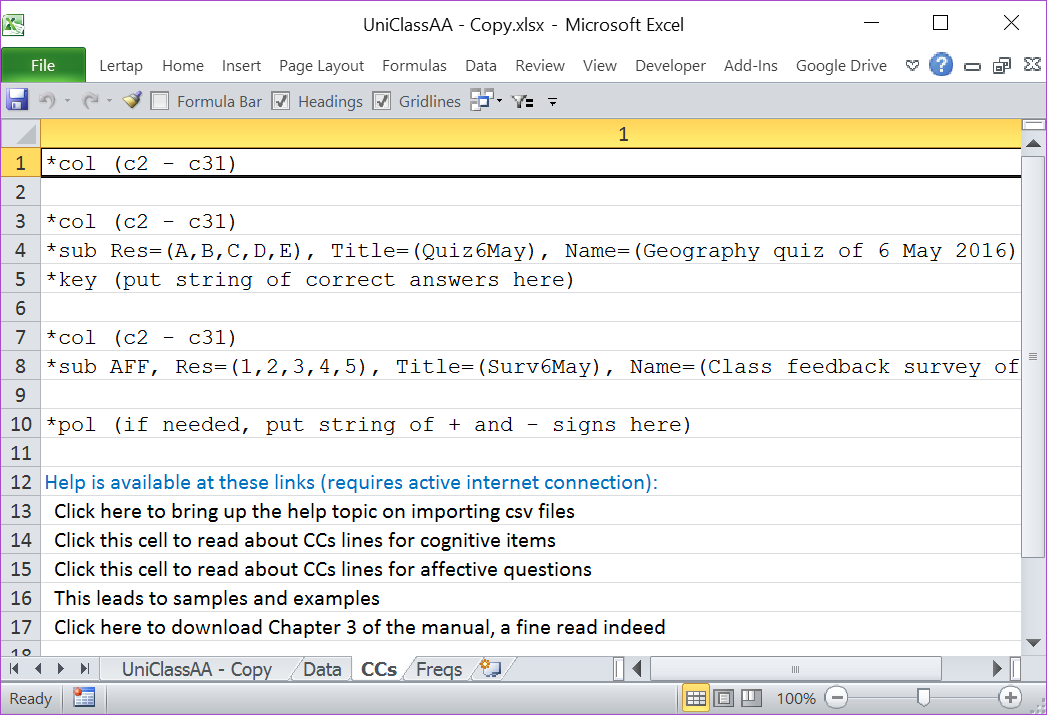
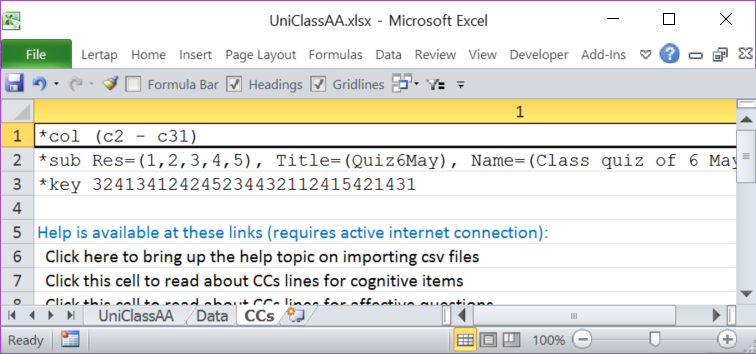
Row 1 in the CCs sheet above is saying that item responses begin in column 2 (c2) and end in column 31 (c31). A single *col line like this one, when followed by an empty row as above, is useful when all that's wanted from Lertap 5 is a "Freqs" report.
Given the CCs lines exactly as above, a Freqs report would be created if the Interpret option were selected, assuming that the *col line is accurate, that is, item responses are found in columns 2 through 31. If the Elmillon option were then taken, it would complain, saying that it cannot find a Sub sheet to work with. Elmillon will only produce the various Stats reports when the *col line is immediately followed by another line which begins with an asterisk.
If the first two rows in the CCs sheet above were deleted, the *col, *sub, and *key lines seen above in rows 3, 4, and 5 would then move up to rows 1, 2, and 3 and could be used to process the item responses in columns 2 through 31 as multiple-choice test items. But first the correct answers to each item would be required on the *key line, and the entries in the *sub line would undoubtedly require modification. Once these things are done, the Interpret option will create a Freqs report, and Elmillon will produce reports for a cognitive test.
If the first six rows in the CCs sheet above were deleted, the *col, *sub, and *pol lines seen above in rows 7, 8, and 10 would move up to rows 1, 2, and 4 and could then be used to process the item responses in columns 2 through 31 as an affective scale (a survey, perhaps) . But first the Res= Title= and Name= entries in the *sub line would undoubtedly require modification. If some of the items were negatively worded, then the empty line between the *sub and *pol lines should be deleted, and +/- symbols added to the *pol line. Once these things are done, the Interpret option will create a Freqs report, and Elmillon will produce reports for an affective test.
(Note: Lertap 5 stops reading CCs lines whenever it encounters an empty line. The *pol line will be ignored if the line above it is empty, as is the case here. Deleting the empty line will get Lertap 5 to read the *pol line.)
The snapshots below display the Data and CCs sheets after they were fixed up for the Uni Class A sample .
The Data sheet in this example was easy to prepare as only the second row required modifications. An item label was inserted at the top of each column. (It's easy to do this by using Excel's option to "complete a series; fill data into adjacent cells by using the fill handle". Above, all that was required was "Q1"; the other item labels, from Q2 to Q30, were filled in simply by using the fill handle, dragging to the right from Q1.)
In this case, the *col line created by the macro was correct -- item responses started in column 2 and ended in column 31.
The *sub line was modified as shown above; the entries in the *key line were obtained from this webpage.
Using the ImportCSV macro with Example 2
The macro created these Data and CCs worksheets for Example 2:
The Data sheet for this example required just one simple modification: the second row, with ID(?), was deleted.
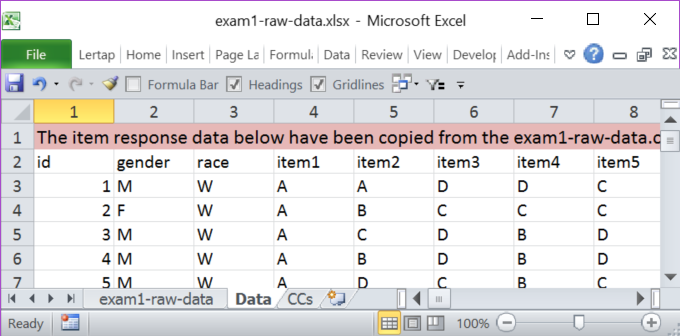
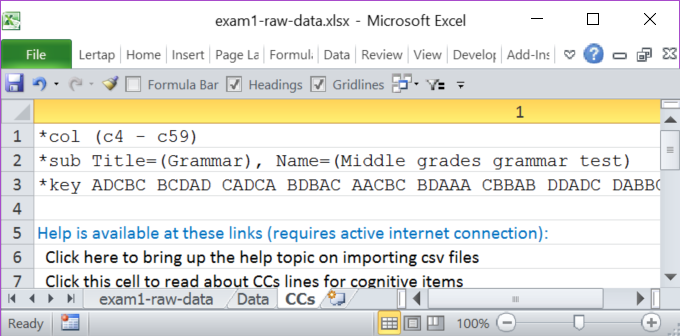
In the CCs sheet, rows 1 and 2 were deleted. The item responses in this example begin in column 4 and end in column 59, so the *col line needed a change. Test items used {A,B,C,D} as response codes; these are the default response codes for cognitive tests, so the Res= statement is not really required. The final CCs sheet looked like this:
Related tidbits:
The *sub line in the second example could have included Res=(A,B,C,D); Lertap would have worked okay.
The entries in the *key line do not have to be grouped as seen in the second example. The string of correct answers does not have to have spaces after every five answers (note that the CCs sheet for Example 1 has a *key line with no spaces).
Often scanners will output a csv file with the correct answers to the items as the first line in the file. The "ScrunchBoss" macro may be used to read this line and create the string required by the *key line in the CCs worksheet. Once this is done, that extra line at the top of the csv file should be deleted so that Lertap 5 does not think the line corresponds to the first student's item responses.
The Help lines may be deleted. Since they have a blank line above them, Lertap never reads them.
After the macro runs, the original csv file will remain exactly as it was before.
The ImportCSV macro is "open source". It is found in the "ImportFiles" module in the Lertap5MacroSetA.xlam file. Excel's macro editor may be used to modify it.
More comments on importing data from files made by scanners are found in this topic.