Scanner data file import (2)

Contents
Back a topic or two it was suggested that scanners can be persuaded to create a "csv" file, where csv stands for "comma-separated values". We've got an example here, thanks to work done at the University of Virginia. (Get your scanner to output csv files, and you'll be in Fat City, as we will point out.)
J. Patrick Meyer, author of the jMetrik software system, has provided several sample datasets which jMetrik users may cut their teeth on.
One of these is called "Exam1 - A data file of 6,000 cases and 56 binary items". A click on the website's option to download the dataset will see a file called "exam1-raw-data.txt" make its way to your computer.
You could use Excel's Text Import Wizard to create an Excel worksheet from this file, exactly as we did before. It would do a good job, too.
But we might use the Windows Notepad program to have a little squiz of this file first. Doing so will work to our great advantage in this case. Have a gander:
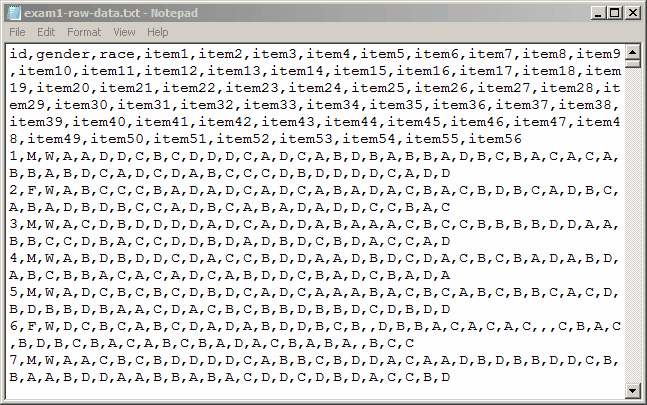
If you had never seen a csv file before, those days are gone. This is a csv file, and you have seen it.
Instead of using the Text Import Wizard to Excel-ize this file, we'll just make a copy of it, and then change the extension on the copy to csv. We did this while you were sipping on your cup of hot cocoa, making a file called "exam1-raw-data.csv". You can see this file listed here:

Window's default program for handling csv files is Excel. This being the case, all we have to do now is open the file. Here's what we see:
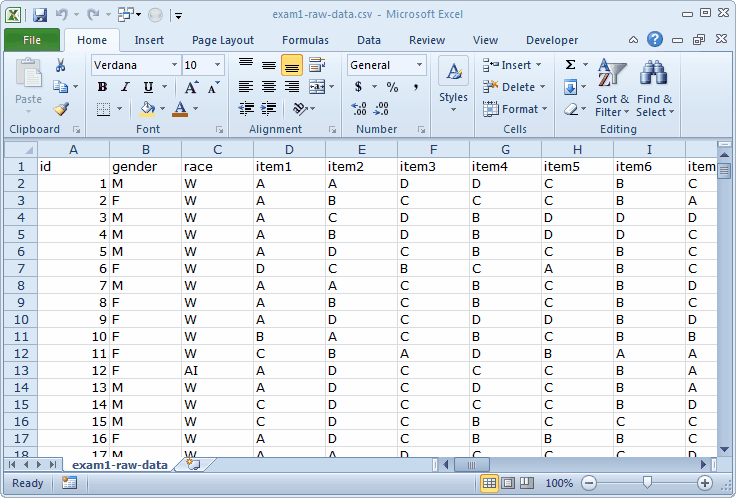
Is this magic, or what? What we had to do, essentially, was just one thing: change the file's extension from "txt" to "csv". No need at all to call on the Text Import Wizard with its multiple steps. Here, in a single baby step, we got what we wanted. Very neat.
But now we ask: is this file ready for Lertap?
Most certainly not. There are a few steps to go through before Lertap will process the item responses found in the file.
We'll start by using the File menu to save this workbook as a dinkum Excel xlsx file, and then meet you in the next topic.